
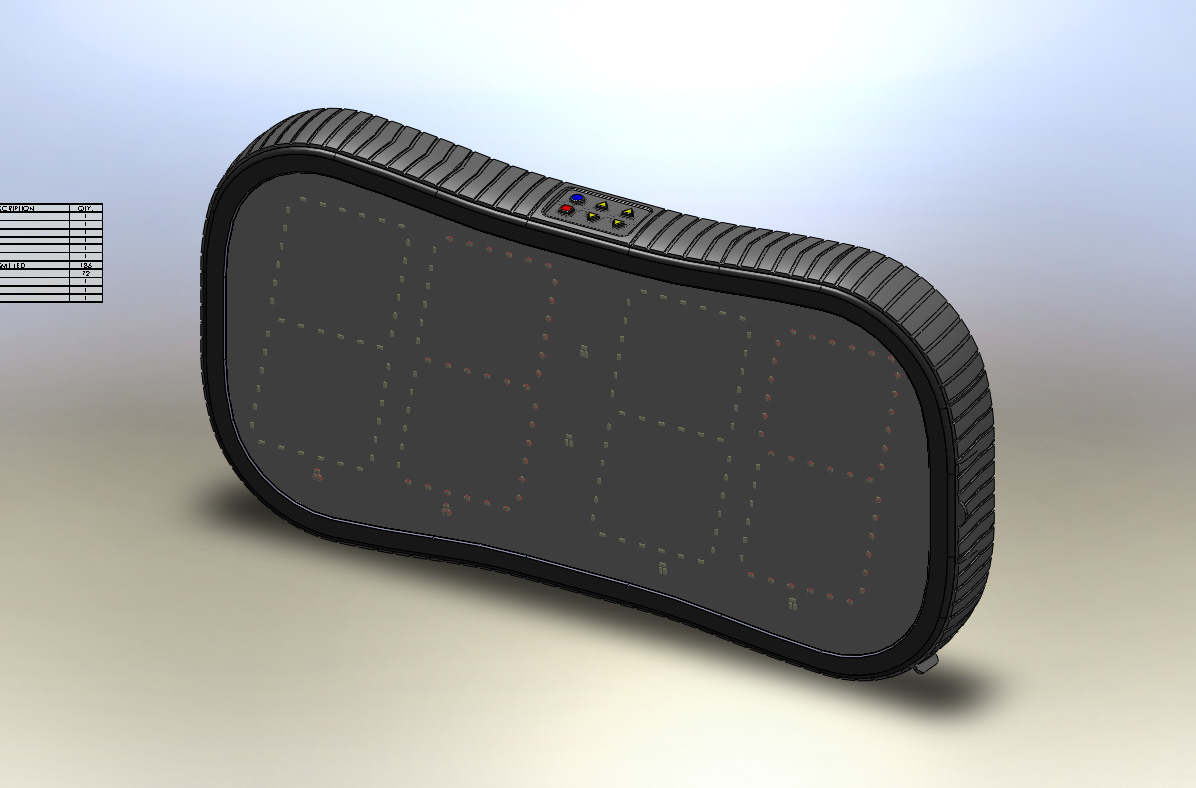
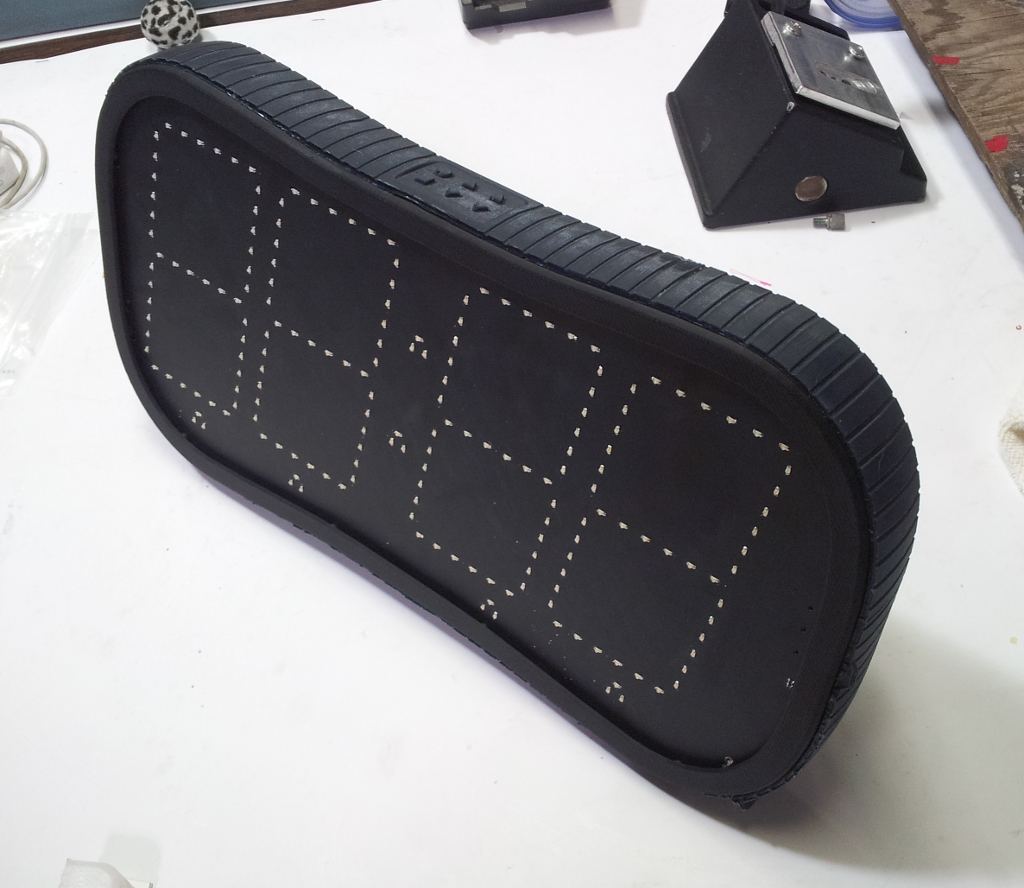
Around the outside of the DigiTally scoreboard is a rubber-like band. This band serves many purposes:
- Impact/scratch resistance
- Water resistance (seals a seam between the front and back
- Molded in buttons
- It looks AWESOME
During the development, this has so far been a simulated part; we have the design but never tested it out. We’ve been building a production-ready version of the scoreboard lately, to make sure all the parts fit together as designed and we wanted to have a rubber part. To print the other parts we used Redeye 3D printing service by Stratasys. They were kind enough to give us a 10% discount after we explained our starving-startup status, and shipped us a still-very-expensive set of parts. But the band was printed in ABS and wasn’t stretchy, so it wouldn’t fit correctly.
This was our opportunity to explore rubber molding. It would have cost a few thousand dollars to have the band 3D printed in rubber, and we couldn’t afford that, so we went to our local Smooth-On distributor, Techno-Industrial, and they gave us some great recommendations, as well as some sample parts to help determine which hardness of material to use.
We needed to make a mold using the part we had 3D printed as what is known as the positive. I started by making a frame for the mold. Silicone is expensive, so I wanted to use as little of it as possible, so I made the mold about 1/2″ out on each side.
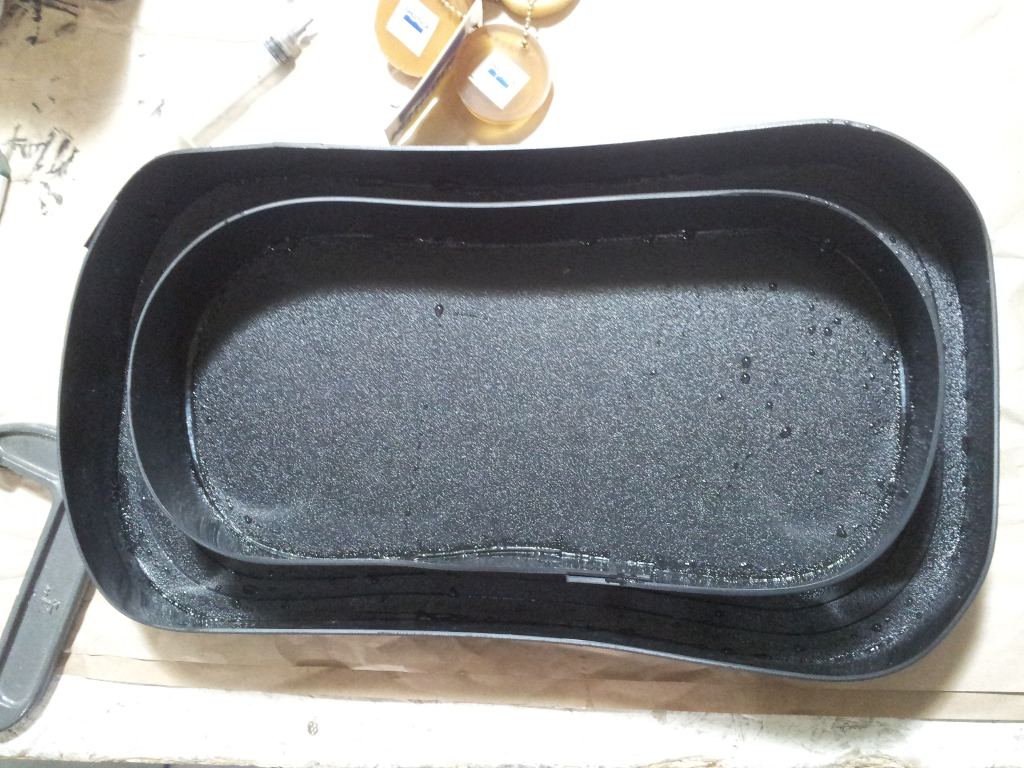
The empty mold. The water droplets are from the leak test; you don’t want your mold leaking on you when you pour it.
The next step was to mix up the mold material. It comes in two parts, and requires a mix ratio by volume, so I used a small scale to pour the exact amount required.

Pouring the exact quantities of each part.
Next is the first pour. The positive is suspended by toothpicks so that the silicone can fill in underneath the part. It must remain still until the mold cures.

The positive is suspended in the mold while it cures.

Toothpicks hold the scoreboard up slightly so that it’s not resting on the bottom.
Well, almost cures. We put a second pour on the outside so that there will be no visible lines on the outside from where the two halves of the mold split. The inner part needs to be at the halfway point, though, so this is a tricky mold. Fortunately, it works out.

After waiting for the bottom to get slightly harder, a second pour along the outside allows us to create a single mold half that has a parting line halfway up the inside and all the way up the outside. Very tricky.
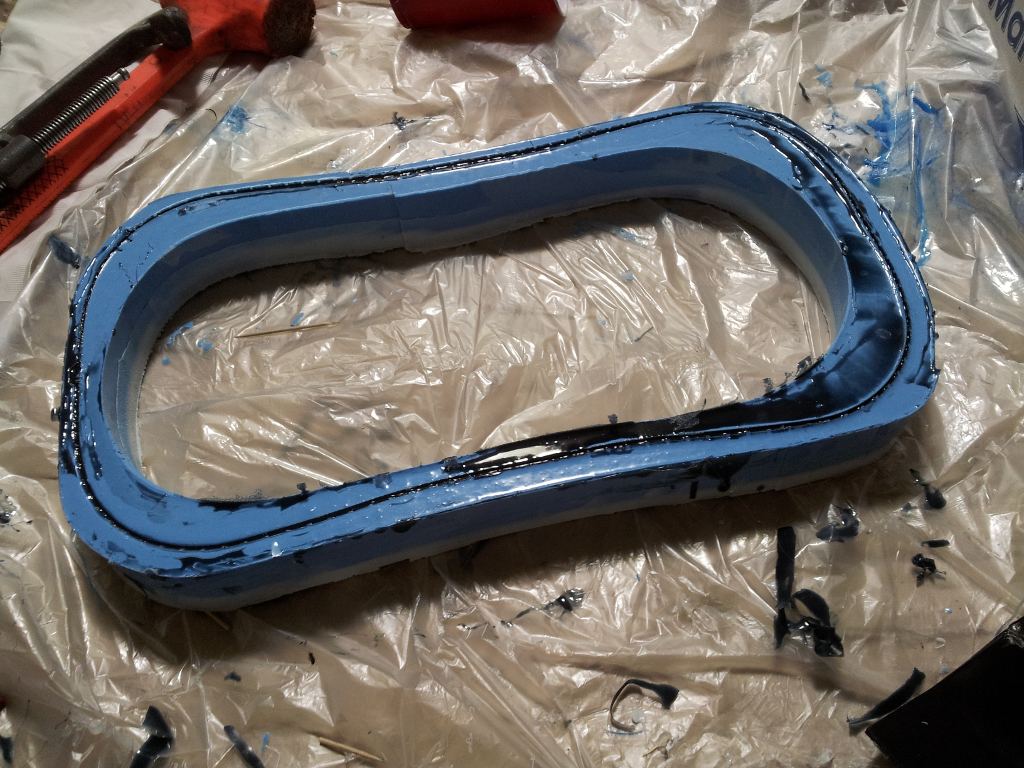
After everything is set, we spray more mold release and pour the inner half. This part will separate from the rest of the mold.

The inside half is now curing. We have a two part mold.
Once both halves of the mold are cured, the mold is separated and the original part comes out easily.

The original is being removed from the mold. The inner part separates easily from the rest.
And a new batch of silicone goes in. This time it is pigmented black. We experimented with a Shore 30A hardness material, but in a later cast we went up to 50A, and we may try 70A. These number indicate hardness of the material, or how floppy it is.
The cast is finished curing and about to be removed.
Taking it out once it cures is relatively easy. Just a little bit of pulling.
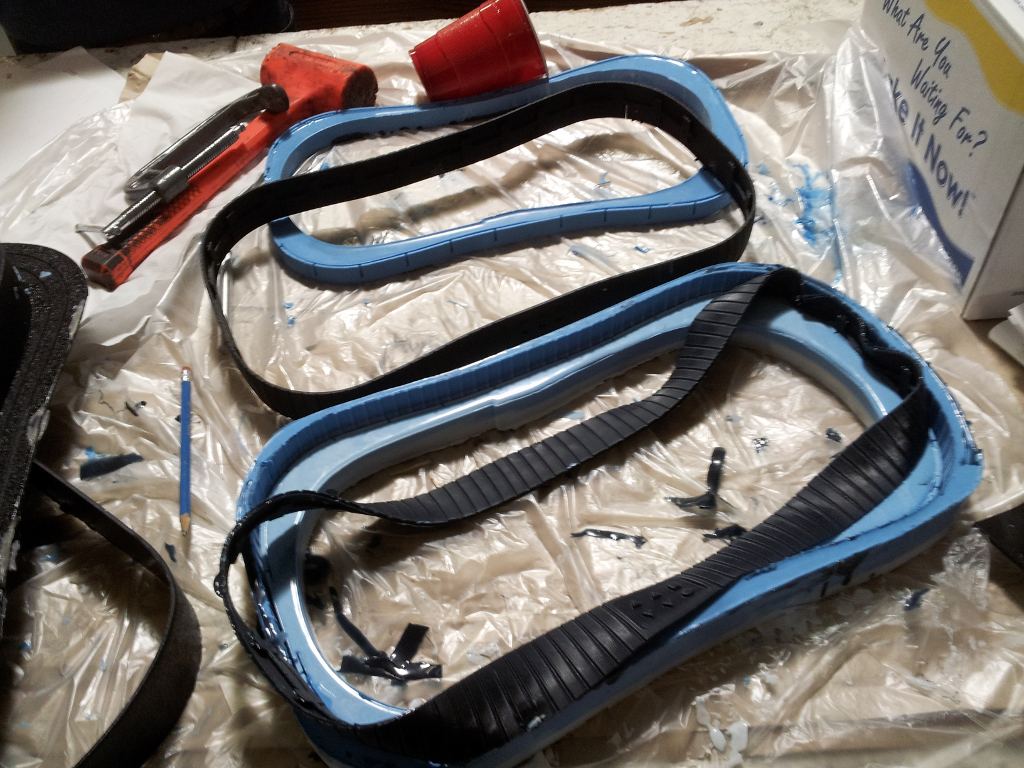
The cast comes out of the mold fairly easily. Sitting next to the original for comparison.
Every detail is perfectly preserved. The rubber material is much stretchier than the original ABS plastic.

The cast next to the original. It’s nearly perfect, and it’s the right feeling.

The buttons came out exactly right.
The part fits snugly between the front and back and everything screws together. A little paint on the buttons, and it’s ready to go!
With the rubber around the scoreboard, it looks like a real product!
We’ve learned a lot through this experience. We have a good idea of exactly the process involved, how we can make some improvements for manufacturing, where on the part there may be issues, and how hard of a material we want to use. We also verified that the part fits correctly exactly as designed, and has the exact look we were striving for.
And we have a model that we can show investors and photograph.
Leave a Reply
You must be logged in to post a comment.